Google Summer of Code | Week 11
This week — July 23 to July 29 — was the eleventh week of the coding period of Google Summer of Code (GSoC) with Systers Open Source. If you want to know more about this you can read the introduction to my journey, my latest weekly blog posts or my weekly status report for this week.
Documentation
I tried to maintain the documentation as complete as possible during the GSoC program in many ways. This is a very important part of our work since this is open source, other contributors might want to contribute to the project or if we ever become inactive, others can continue our work within the community. I take a lot of notes about everything we discuss on the project weekly meetings so that our discussions are properly documented for other members of the community to see. I also created two docs during the Community Bonding period, regarding the Backend and Application features on Google Docs to let others know more about the project’s idea, features, system design decisions and implementation.
The past two weeks the GSoC students presented a live demo for the work completed on Phase I & II. This was for documentation purposes and to serve as training for the final demo which is going to be live on Youtube at the end of the GSoC. I got good feedback from my presentation and advises. One interesting thing was that one GSoC student that attended my live demo, Baani, showed me that when I tested the backend while presenting, it was much more clear how to test for quality assurance. This is something I tried to incentive others to do, but at that moment I understood that I had to be more clear and provide more documentation perhaps regarding testing the backend. I created a Google Docs while back with test cases for each feature to guide contributors and testers, as well a step by step guide on how to login into the Mentorship System using the Swagger UI. Also regarding what to actually test, is normal if new contributors don’t know enough about the project to come up with test cases to test the project features so I may have to add more documentation on that.
Another task I did this week, was creating the “How to Contribute” Wiki page for systers/mentorship-backend GitHub repository regarding ways that a new contributor can help the Mentorship System. These ways include much more than coding, this page includes sections for documentation, quality assurance, outreach and incentive to participate in Slack discussions regarding the project. I also created a wiki for the Android project, which is still a bit empty but will surely be improved as the project progresses.
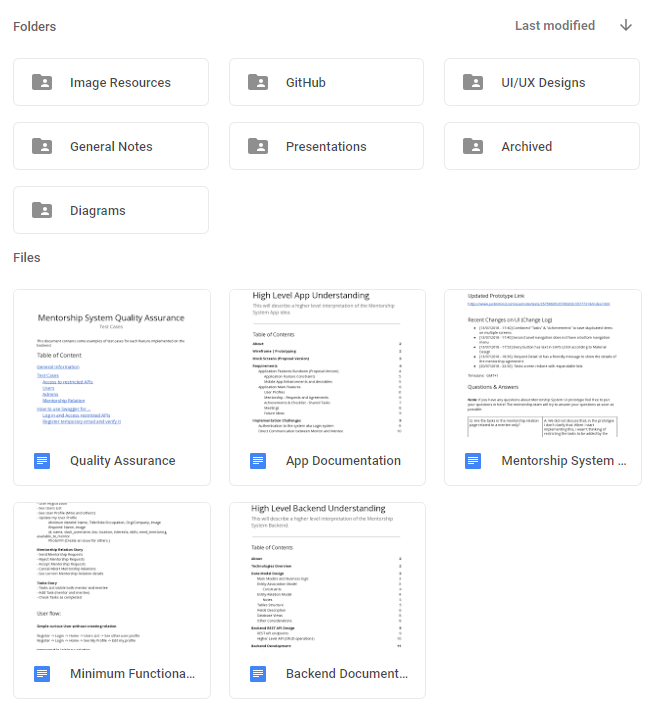
As another part of documentation tasks, I saved all the UI designs, I made using JustInMind, on the Google Drive folder where students may save their work. I did this by using a feature provided by the tool that allows me to export the designs as images. This is crucial because if we ever lose access to the JustInMind UI prototype link, we’ll still have the designs.
User Interface (UI) Design Hacks
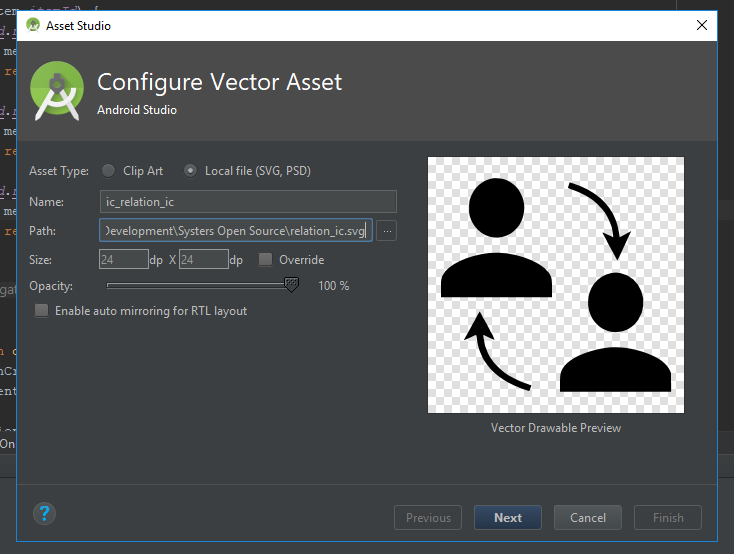
This week I continued to work on the Android application and one of the tasks I had to do was the bottom navigation. For the Bottom Navigation with 5 items, I used 4 icons of the Material Design icons. The one that was not from Material, I created it inspired by a GSoC student’s suggestion that shared a similar image, but I felt that wasn’t totally aligned with Material Design, so I created my own version of it (in PNG format with copy, paste, and cuts). This icon is shown in the next image, it is the middle one with the label “Relation” that represents the current mentorship relation a User is involved with.
To use this in the Android Application I wanted an SVG icon format so I created the image again so that I could later export to a valid SVG file. I created this with 2 arrows on draw.io and Material Design’s person icon. Once the image was edited I used Inkscape to resize and play with the icon, but then I was having some problems so I took a crop at the image and used Online Converter to convert the icon to an SVG. Then I copied again to Inkscape, saved and then I imported the resulting SVG file to Android Studio.
Developing Android application
I continued learning about Android Development using MVVM, RxJava, and android architecture components. I tried to learn best practices of developing an application with these components and architecture. I had multiple 1:1s with Murad, one of my mentors that showed me areas of improvement on the code I was developing to bootstrap the project.
Regarding UI development, at first, I was hesitant about using Constraint Layouts because I just didn’t know how to use them. First times I used them I didn’t understand if I was doing things right. Then I figured that this was used by manipulating views with drag and drop on design tool from Android Studio, so I decided to give it a real try since my mentor advised me to use them.
I wanted to know why and how I should use Constraint Layout so I researched about it and came across a really nice talk on this topic, “Mastering ConstraintLayout in Android” by Rebecca Franks.
This made me feel more comfortable about using these layouts and understanding that this avoids nested views, therefore, improving performance when Android draws the UI.
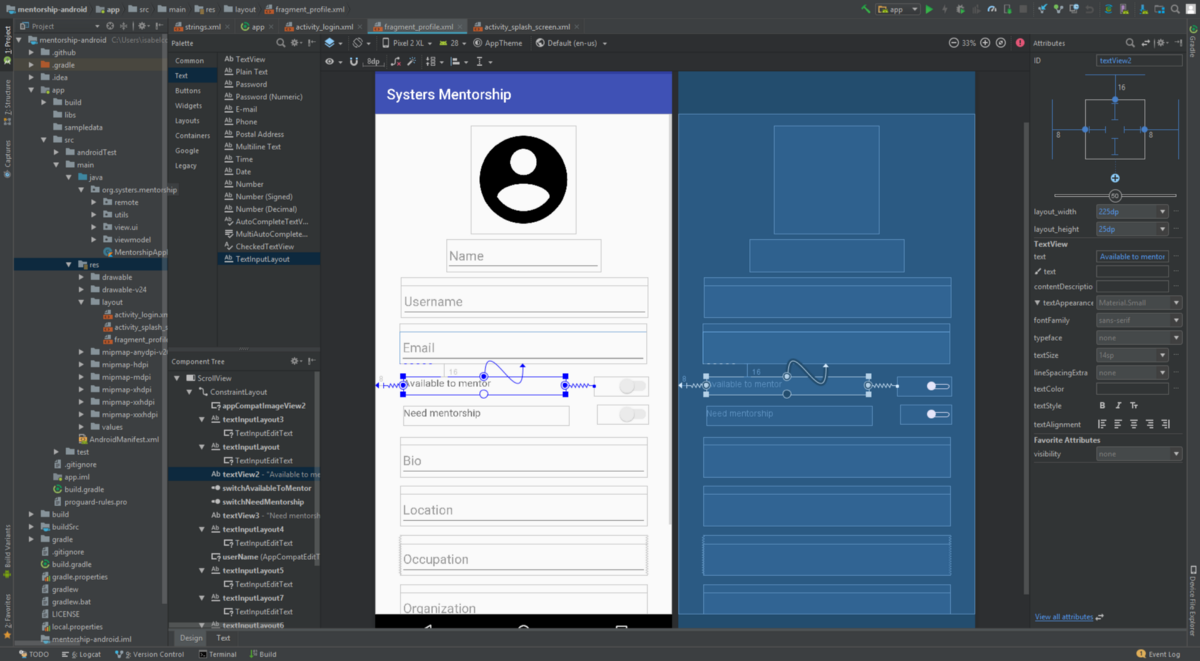
This Sunday I tried Constraint Layouts for a User Profile view which is used to show and edit a User’s profile. This next image represents the screen designed for the User profile, implemented with ConstaintLayouts using textInputLayouts with editTexts and switches.
A quick shout-out to the community, I shared a bit of my frustration and inexperience with these types of layouts and got lots of helpful responses from community members.
Time management
Usually, for project meetings, I start preparing the agenda over the week with questions, ideas, doubts, and updates about the Mentorship System (both backend and Android) to discuss with the admin and the mentors, and sometimes we go over the time (1 hour). This week I tried out something that really surprised me in a good way. I planned the time for the meeting, to discuss general briefing (10 min), the Android application (30 min), and the backend (20 min). What surprised me was that in the end there was one minute left and we had already discussed everything on the agenda. I was so excited about having structured the meeting and giving time estimation for each part and this working out.