Deploying Mentorship Backend flask app on Heroku
At AnitaB.org Open Source we have a project called Mentorship System, which I started during Google Summer of Code 2018. This project is composed of several repositories: flutter, android, ios, and a backend written in Python (Flask).
I want to describe how I deployed the backend REST API project on Heroku, using its free tier.
Setup project to be deployable on Heroku ⚒️
So anitab-org/mentorship-backend already could be run locally using simply python run.py command on a terminal and having the environment variables set.
However, I had to create a specific file and indicate the way I wanted to run the backend app on Heroku.
So to enable the project as it is to deploy on Heroku with a single click, just by connecting it with GitHub, I had to create a new file on the project called Procfile with this line, where application refers to the object that holds the flask app.
web: gunicorn run:application
I created this pull request (PR) #640 on anitab-org/mentorship-backend to add the changes mentioned above. With these changes, anyone that forks the project on GitHub can follow the same procedure as I did and deploy the project on Heroku.
Deploy on Heroku 🚀
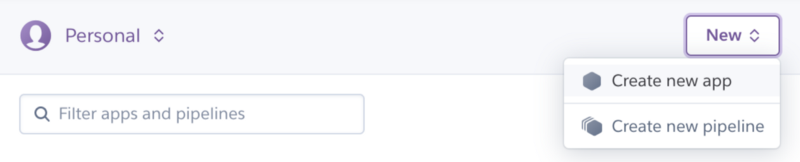
Now that the project has everything that it needs to run on Heroku, let’s create the configuration. In my personal account dashboard, I started by creating the app.
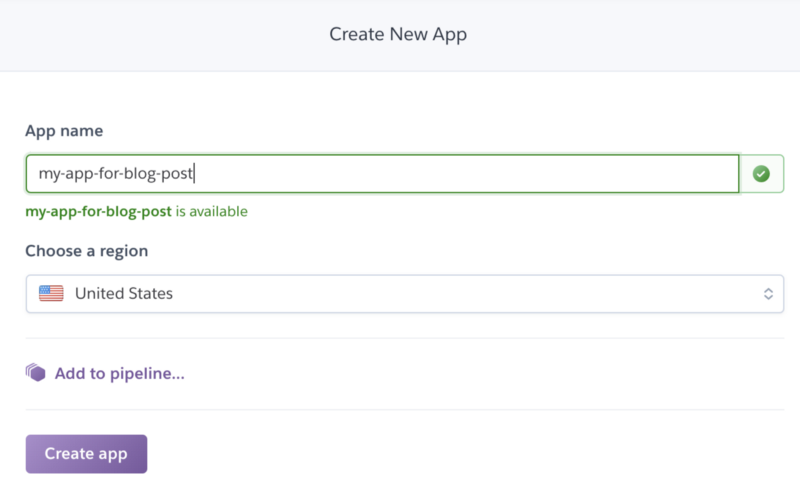
I gave it the name of the app, that will compose the Heroku app URL. In my case to get mentorship-backend-temp.herokuapp.com I named the app mentorship-backend-temp . I also had to select a region between United States and Europe.
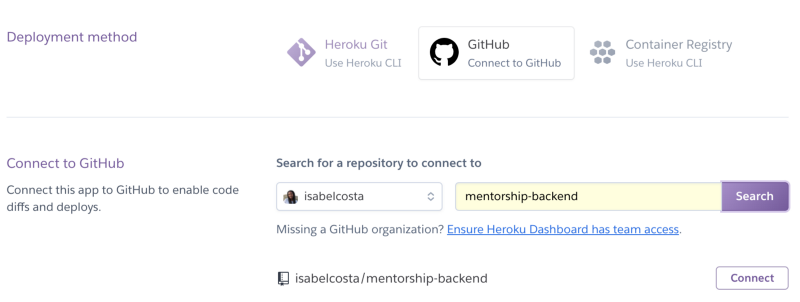
Then I clicked the “Connect with GitHub” option in the “Deployment method” section from the Deploy tab (which I was redirected to) and selected a repository on the “Connect to GitHub” section, such as my mentorship-backend fork repository. Because I am one of the admins of the anitab-org on GitHub, I ended up selecting is from the organization, instead of from my account.
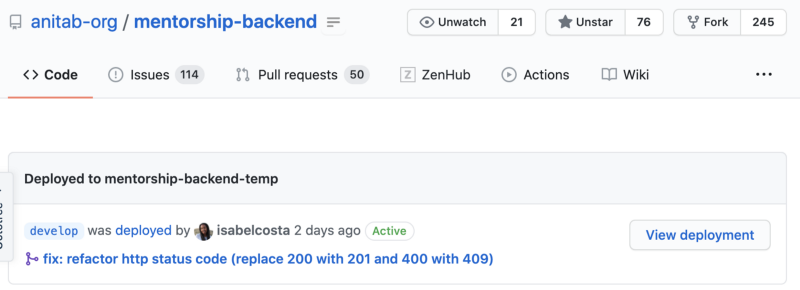
At this point, with the app configured on Heroku and connected to GitHub, we are able to see the current deployments of the app on both platforms.

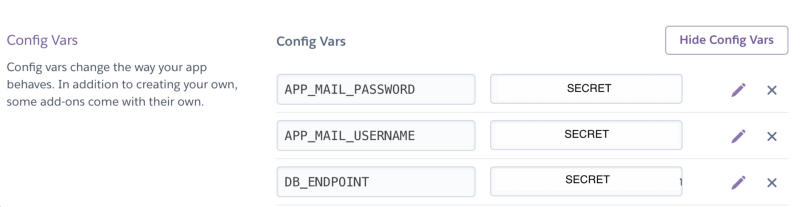
Next, I had to create the environment variables that the project needs to run properly and also connect with a remote database. This section is available in the “Settings” tab of the app view on Heroku.
Then I made sure to deploy this app from the “Deploy” tab. As a result of this action, we have now the project deployed at:
→ https://mentorship-backend-temp.herokuapp.com/
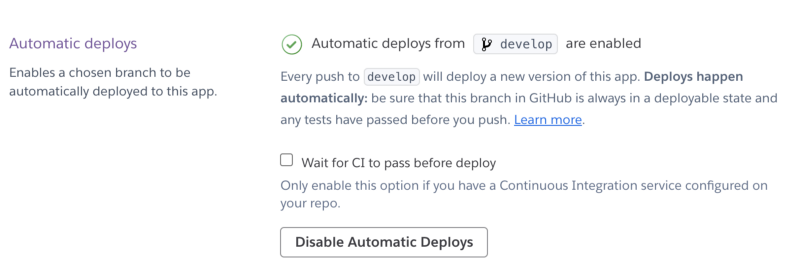
In the end, I also enabled the Automatic Deploys feature. For that, I went to the page of the application on Heroku and went to the Deploy tab, and then enabled it. I could also enable Manual Deploy, which I used before, but since we are now paying close attention to what gets merged, I was confident in enabling it.
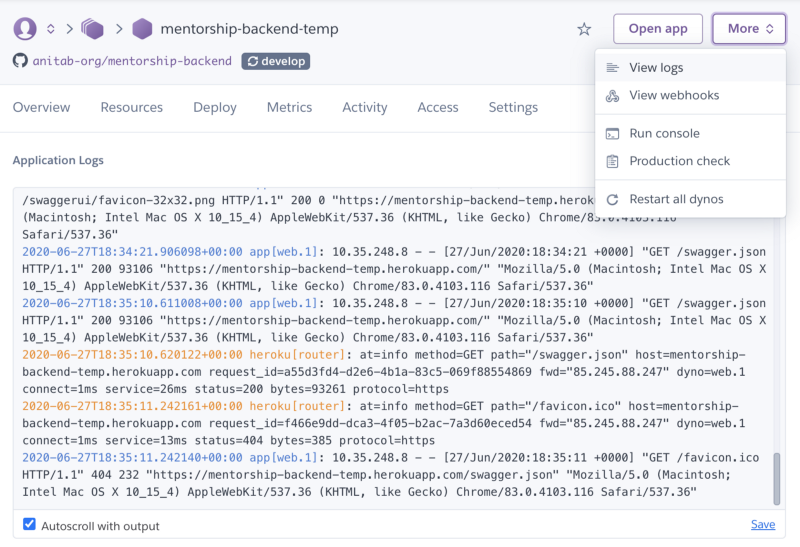
Now that the app is deployed, I can access the logs of this server, and debug if anyone experiences a bug specific to this running instance of the app. Although we can only see the most recent logs, it still comes in handy.
Benefits for the community 👐🏾

Previously we were deploying this app in Amazon Web Services (AWS). However, we had some issues that made the app stop working there, in which we could not have access to the AWS environment to look at the logs, so as a temporary solution I decided to host the backend REST API on Heroku.
While we don’t have the app in production where we will potentially run the app on AWS, we can use Heroku to deploy the development version of the app. Although ever since I deployed to Heroku, I am amazed how this makes it easy to deploy the REST API and how anyone in the community can easily do this. Besides this, some weeks ago I discovered the Review App feature which allows us to easily deploy an app for any PR sent to our repository (with a limit of the number of apps since I’m using free tier).
I hope you enjoyed this blog post and learn about deploying apps into Heroku!
Interested in the project? You can reach us on GitHub on Zulip.